Application download
Please download from this link and install.
Application PC Requirements
LOG-1 uses Windows applications for changing device settings and exporting movies.
PCs that meet the following specifications are required to use this product.
| Components | Specifications |
|---|---|
| OS | Windows 8.1 / Windows 10 (recommended) |
| Memory | 2GB (4GB or more recommended) |
| HDD free space (for installation) | 1GB or more |
| Graphics | DirectX11 or greater |
| USB port | USB 1.1 or higher (1.1 / 2.0 / 3.0) |
| Display | 960×768 or higher |
- Operation is not guaranteed for all PC environments.
- The above OS must be installed at factory shipment.
- We can not guarantee the operation in the multi-boot environment.
- Other applications may affect operation.
- Depending on the content of the work, the required PC specifications differ.
- It is recommended to use various drivers with the latest version.
- Company name, product name, service name listed are trademarks or registered trademarks of each company
How to download and install applications
- Open “XonLog1_Setup_1.x.x.exe” with administrative privileges.
- Read the application licensing terms link (software license) and check the check box, then click the install button.

- Click on “Yes” to confirm.
- Installation will begin. (Installation time may vary depending on the speed of your PC)
- When the installation is complete click “Close”.
- Shortcut icons for the two applications will be displayed on the desktop.
LOG-1 Applications
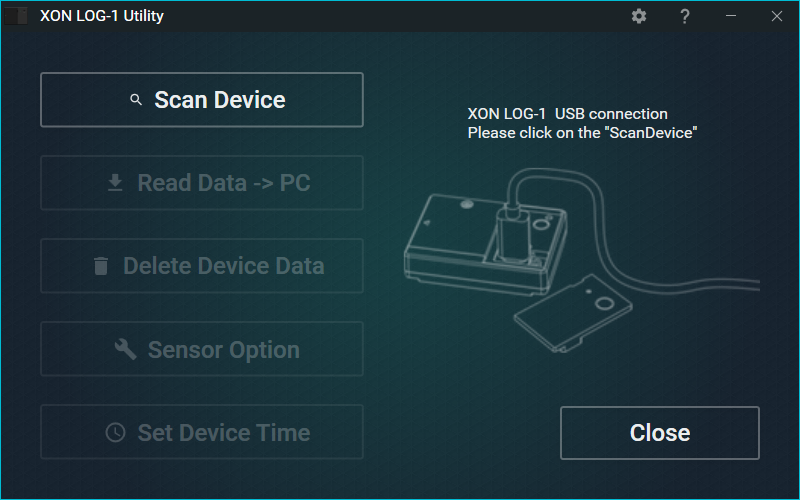
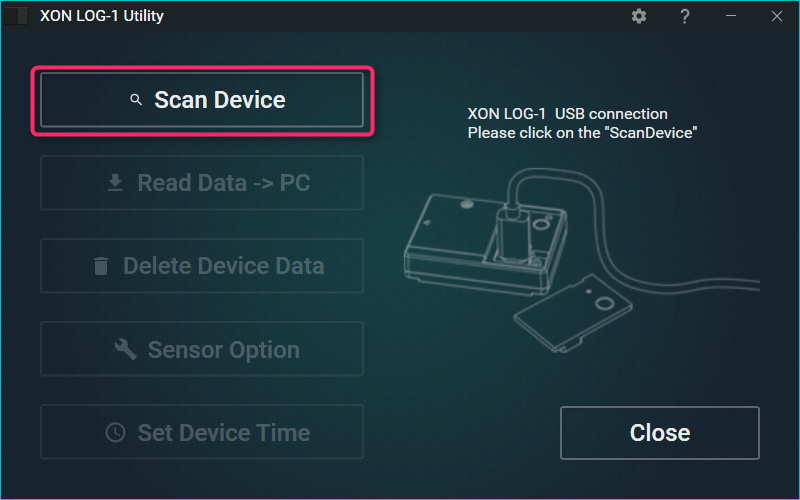
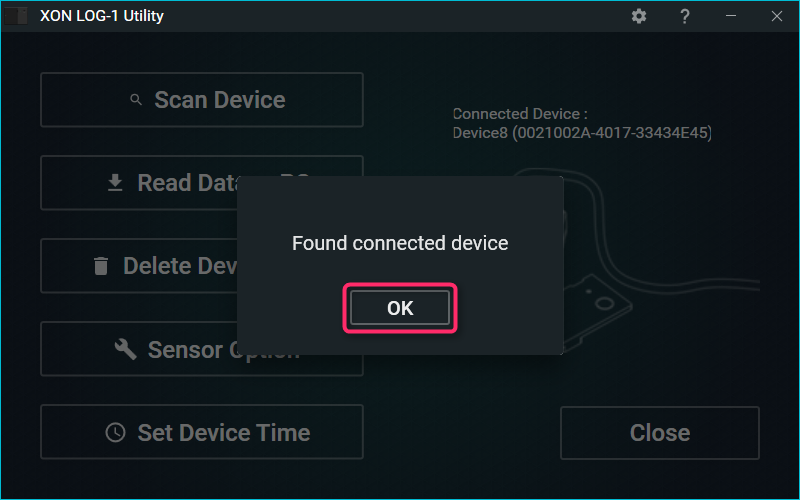
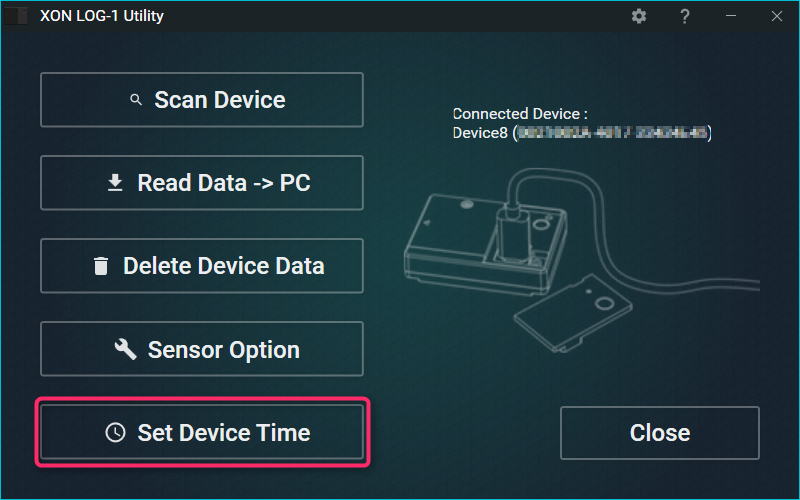
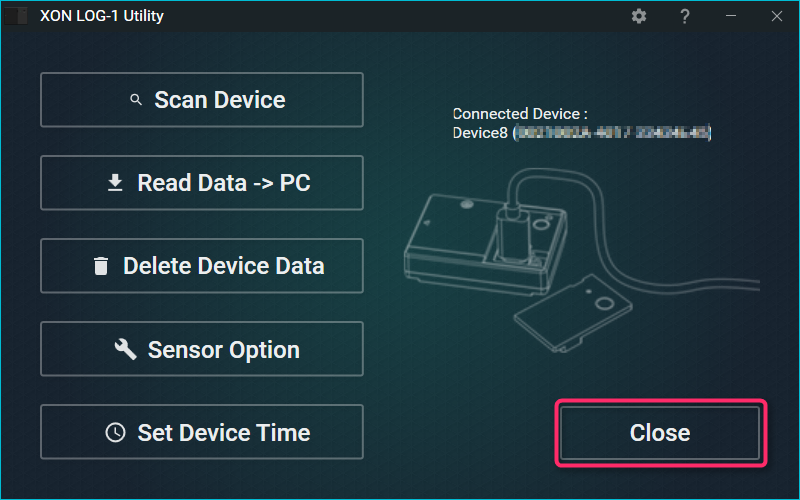
XON LOG-1 Utility
Application for extracting and deletion of LOG-1 of settings and data.
XON LOG-1 Overlay Movie Exporter
Application for combining data LOG-1 has obtained and overlaying data onto recorded video.
XON LOG-1 Date Correction
This application can be used to correct the date and time of videos/LOG-1 files.